Friday, April 8, 2016

Change is coming

A change has been coming for awhile. I have always had a hard time finding clothes that I like. Lately I have been buying office casual clothes because I want to dress up more than the regular jeans and tee shirt, and I want to look professional for the fiber shows. But, I am tired of those clothes. They are boring and most have no personality. I'm not sure I even look good in them. I have been wanting to get more of "me" into my wardrobe, but no idea how to do that. Last week I put on a cardigan, and really did not like it. It is one I wear often, a knit cardigan from Kohls with no style. It is boring. Here's what it looks like:


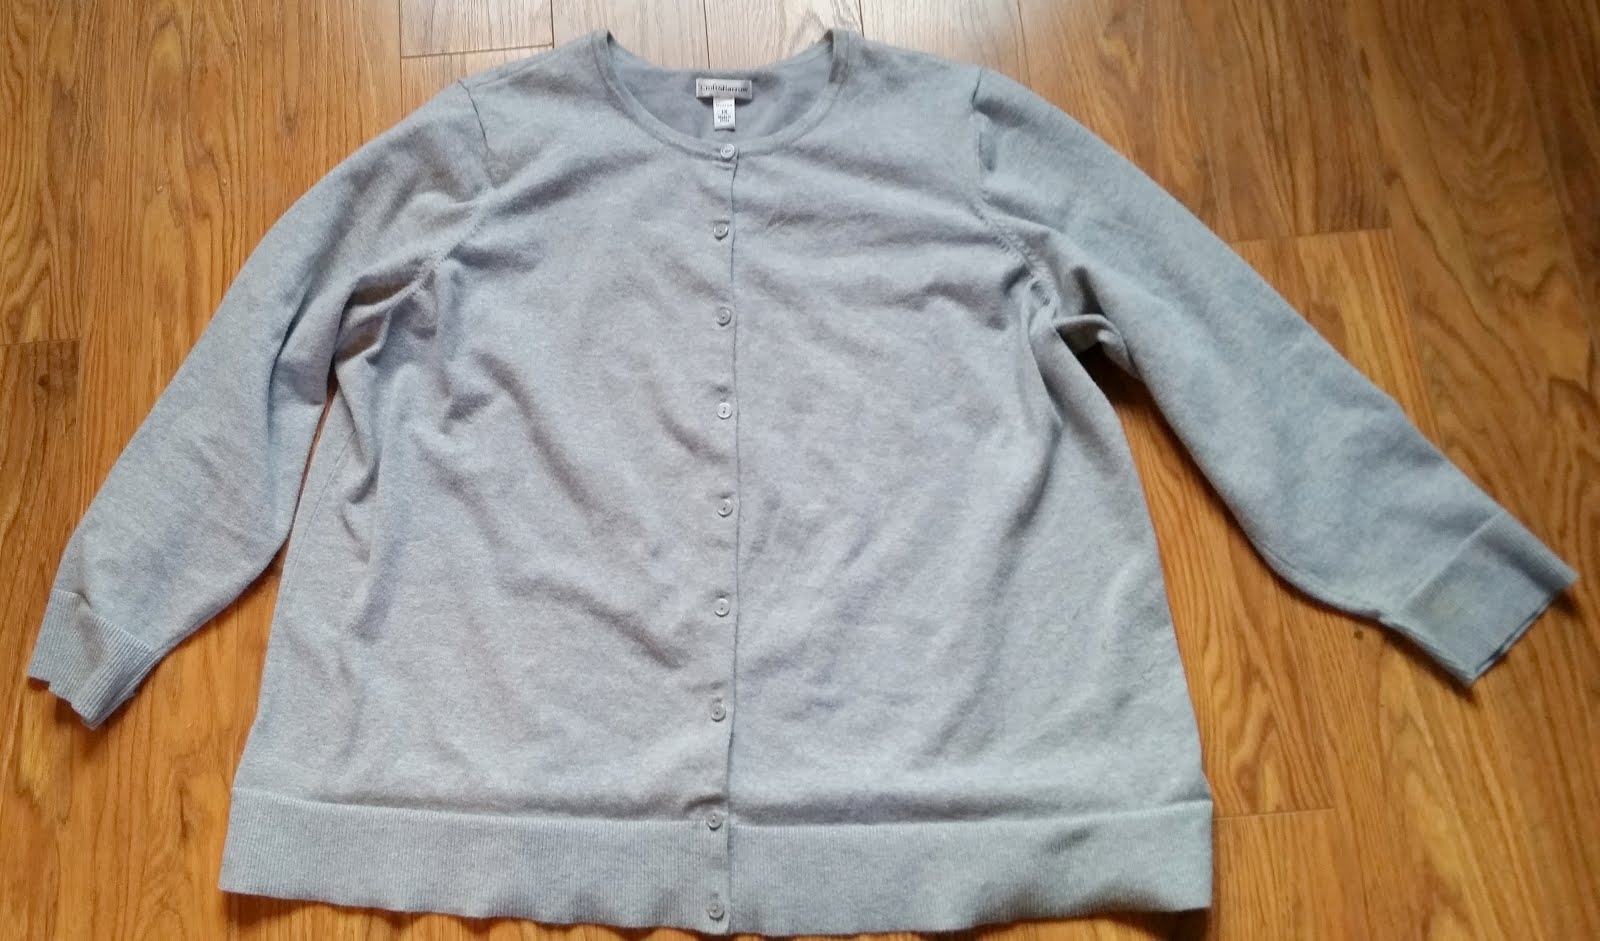
When I put on the sweater, I got frustrated. I cannot just keep buying clothes that I do not like. So I decided to change. the. sweater. Not a particularly new idea, but I'd never thought of doing that before. I've changed the length of straps, and put in some quick darts to make tank tops fit better, but nothing like this.

Here's the plan: I am going to shorten the sleeves, change the neckline and do some waist shaping, then add some embroidery.

First, the sleeves. The sweater has a nice cuff, it just needed to be near my elbow instead of near my wrist. With the sweater on, I measured to my elbow, which is where I wanted to add the cuff to the sleeve. I laid the sweater out on my cutting mat, and used quilting tools to make a straight cut. Then, I cut again just above the cuff.


Trouble is, the sleeve at the elbow is too big for the cuff, even if I ease it on.


 So, I took some volume out of the sleeve by starting at the underarm and sewing straight to about an inch in from the side seam. Then I cut off the excess seam allowance.


I turned the cuff right side out, and pinned it to the inside of the (inside out) sleeve. First, I pinned it at the seam, then at the point directly opposite, I kept halving each side and pinning it together, until
there wasn't any more room to pin.


My sewing machine has some knit-friendly stitches, and I chose one to let the the knit fabric stretch like it wants to. While sewing, I stretched the cuff a little to ease it into the same circumference as the cuff. I repeated this whole process for the other sleeve. BOOM. Short sleeves.


Here's the altered sweater on me:


Still boring, still needs some work, but a step closer to what I wanted. Next, I will be changing the neckline. The crew neck on it is too high, and the back of the neck is straight, so the sweater constantly rides forward, making me look like I hunch. Not good. I'm thinking a "V" neck, a little wider than it is now, and a gentle curve along the back of the neck.

more to come!

Tuesday, June 25, 2013

Mini Skein Knit A Long

The wonderful Ladybugxstitcher (rav link) has started a cool Knit A Long in the June Pryce Fiber Arts Group! You get a set of mini skeins from the June Pryce shop, and a shawl pattern, and get knittin'. I decided to try Bitterroot (rav link) in the Peach to Brown gradient. Here's a pic of the skeins:


Sigh. Gorgeous! I can't wait to start this one. Start date for the KAL is July 1st. You can pick any gradient colorway you want, you don't have to do the Peach to Brown. AND you don't have to do Bitterroot, you decide which pattern to try!
 
Click over to our Ravelry group and join in!

Thursday, June 20, 2013

In Love with Haruni

Well, Emily Ross goes on the genius list. Haruni is not a difficult knit, but the results sure look like it was. (I love that, it impresses the Muggles terribly.)

I finished the knitting (I was a little bummed to be finished, it was very rhythmic and pleasant) and the casting off, (which was considerable) and now I am anxious to see if I got those beautiful scallops that GirlGoneLoopy got!

Here is the unblocked shawl.


I like to wet block, so I gave Haruni a bath with a little wool wash. I squeezed the excess water out (without wringing) and then wrapped it in an old towel and let the 3YO walk on it for a bit. Then pinned it to my blocking board.

(sorry for the out of focus pic, it was dark)

After it was dry, Haruni got a photography session!

With hydrangeas from my garden.

See the scallopy goodness?

The little swirl at the corners makes me swoon.

And the point is sublime.

I got my scallops, the colors are awesome, and the shawl is finished. I am so pleased, I could pop!

Friday, May 31, 2013

Photo Phriday

Gustave Courbet
The Sleeping Spinner1853

Tuesday, May 28, 2013

What to do with those Mini Skein Sets?

Cheryl and I just finished five weeks of shows. We were vendors at four of them, and buyers at Maryland Sheep and Wool (which was right in the middle of those five weekends). We get a lot of interesting questions while we are vending. Questions I would never predict that knitters would ask. Like, "wow these mini skein sets are beautiful - what would you use them for?" Don't all knitters buy first and figure out what to do with it later? Just me?

My goal now is to make samples to show those knitters exactly what can be done with the mini skeins. AND I get to knit with them, too. Bonus!

I started with a set of 6 mini skeins (100 yards each) that gradated from green to blue that Cheryl gave me for my birthday. I love the colorway. (if left to my own devices, I'd probably make everything in these colors. I'm very drawn to them.)

After much searching on Ravelry, I saw this Haruni in GirlGoneLoopy's projects. (a ravelry link) I absolutely adore how the violet and light blue contrast in her Haruni's edging makes a pretty scallop. So I contrived to make my set do that.

After reading the Haruni pattern, I laid out my 6 colors from light to dark. According to the pattern, half the yardage will be used for the edging, so I made sure to put the darkest and the lightest next to one another inside the edging, and finish with the next lightest. The shawl is worked from top to bottom, so the skeins will be knit from 1 (top) to 6 (bottom edge).

(pic does not show how gorgeous the colors are. Hopefully I can get a better pic of the work in progress.)

To keep track of which skein was which, (and keep the skeins clean) I put each in a little zipper baggie and labeled them 1-6 with a sharpie (next time I will use some painters tape on the baggies; the sharpie wore off after a few days.) I wound them into center pull balls as I needed them.

I decided that making this project was technically "working", and not just making myself something to wear, so I made sure to sit down and work on it every day. Right now I am knitting on skein 4 in the edging. The rows are getting very long, and my husband now knows that "just let me finish this row" could mean 15 - 20 minutes, not the 2 that he's used to. I am looking forward to getting to skein 5 to see what the contrast looks like! I hope it looks as good in reality as I am imagining...

Here's a pic of the work in progress:


It is getting a bit big for my needles, so it is difficult to spread out. I will take more pics once I get it off the needles, and onto my blocking board! (should only be a few episodes of "Mr. Selfridge" til it is finished.)

Saturday, May 25, 2013

Knitting the Scarf

Now that my handspun is dry and wound into center-pull balls, I am going to start knitting.
I want a substantial scarf, but I also want it to be long enough to wrap around my neck a couple of times. So, I measure the yarns' wpi. The GreenBlueViolet came out a little bit thinner than the Arctic Ice, but I'm not worried about that. I settled on 24 stitches per row, on a size 6 needle.


With the Darker yarn end (Violet in this case), cast on 16 stitches.
Work a K1P1 rib for two rows ( *[K1, P1], repeat from * to end.)
DO NOT CUT YARN.
Attach most contrasty end of second yarn and work two rows K1P1 rib. (both my ends were the darkest teal, so I just picked one and started knitting.


*Start working with first color again, but pull it from UNDER the second color. Work 2 rows.
Pick up second yarn from under first yarn, making sure to pull it from UNDER the first. Work 2 rows.
REPEAT from * until almost out of yarn, end with 2 rows the darker yarn, cast off in rib.


The knittings is finished! I tucked the ends in, and this project is complete.


Friday, May 24, 2013

Time To Ply

The weather was nice, so I spun outside for awhile. That is the Green Blue Violet in the works. The bobbin with the Arctic Ice is on a bobbin in front, see?


While I was still spinning singles, I somehow lost the end of my single in the bobbin. After hours of trying to find it, I gave up, broke a strand that was (I think) near the lost end, and kept spinning. I never found it. Even while plying. Weird.

 
Now that I have all my singles spun, it is time to ply. To keep my colors as solid as possible, I decided to use a chain ply (sometimes referred to as Navajo ply).

I put my full bobbin on a lazy kate, and started with a loop. I am plying with an "S" twist. Then as, the spin comes into the yarn, I pull a new loop through the old one, before it is spun closed. I use a short draw, pinching with my left pointer finger and thumb, while pulling the loop through with my right. I really like the way the yarn looks, but I know it will get fluffier after I set the spin.

Arctic Ice

Green Blue Violet
After plying, I skeined the yarn up and tied it in several places. The yarn gets a bath, and then I snapped it and laid it out to dry.


I repeated this for the second skein. Once the skeins are dry, I can wind them into balls and start knitting!

.